Estimated time needed to make: 4 hour. Estimated costs: 40 EUR
SHOPPING LIST:
Chemical store:
TiO2 powder
Distilled water
Ethanol
Conductive glass OR
Stannous Chloride (if you want to make your own conductive glass)
Distilled water
Ethanol
Conductive glass OR
Stannous Chloride (if you want to make your own conductive glass)

Pharmacy:
Betadine
Laxative
Aceton Supermarket: Hibiscus tea or berries red beets washing-up liquid, transparent!
Spirit vinegar
Candles
Aluminum foil
Toothpaste
Laxative
Aceton Supermarket: Hibiscus tea or berries red beets washing-up liquid, transparent!
Spirit vinegar
Candles
Aluminum foil
Toothpaste
Tools, Containers:
Digital scale
Mortar and pestle
Heat gun
Water cooker
Bowls
Electric meter
Glue gun (unfortunately, a glue gun is not going to perfectly seal the cells; I am searching for a more durable solution. In the meantime,it is the easiest tool to work with.)
Mortar and pestle
Heat gun
Water cooker
Bowls
Electric meter
Glue gun (unfortunately, a glue gun is not going to perfectly seal the cells; I am searching for a more durable solution. In the meantime,it is the easiest tool to work with.)
POWER!
For any electrical circuit we need power! Therefore our first project will focus on generating a low cost DIY source of electrical power in the form of a solar cell. You can find all necessary parts - such as glass, pigment (TiO2), natural dye, carbon and betadine - in regular stores.HOW DOES IT WORK?

The solar cell is based on photo excitation. It is a process in which electrons get ‚excited‘ when exposed to the photons of the sunlight. It is a process similar to photosynthesis. The cell is composed of a thin semiconductor film: a porous layer of titanium dioxide nanoparticles, sensitized by dye molecules that absorb sunlight. As in a conventional alkaline battery, an anode (the titanium dioxide) and a cathode (the platinum) are placed on either side of a liquid conductor (the electrolyte).
PARTS:
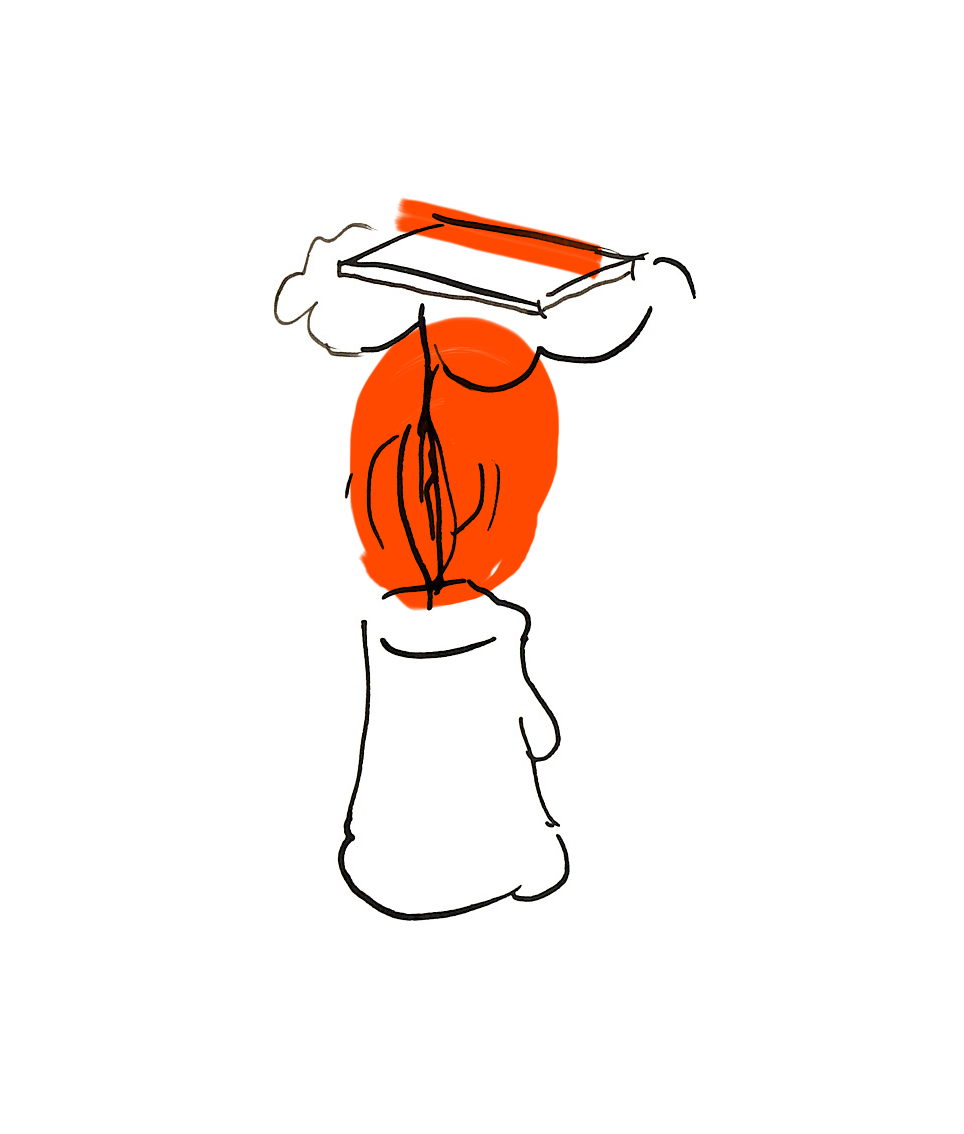
1. Conductive Glass (two sheets)
The glass we use here is coated with FTO (fluorine doped tin oxide) / ITO (indium tin oxide):
a. Anode The Anode is our glass sheet number 1 – it will get coated with TiO2 paste. To make Titanium dioxide paste just apply TiO2 powder plus solution (acetone, Triton X100, distilled water) on the conductive surface of one of your glass sheets.
a. Anode The Anode is our glass sheet number 1 – it will get coated with TiO2 paste. To make Titanium dioxide paste just apply TiO2 powder plus solution (acetone, Triton X100, distilled water) on the conductive surface of one of your glass sheets.
b. Cathode
The cathode – our glass sheet number 2 – gets coated with carbon. You need to hold it over the flame of a candle so the candle fumes can color it black. Be sure to hold the conductive side of the glass above the flame and better move it away from the flame quite often, so it doesn‘t overheat.
If you don’t like playing with fire then just add a layer of graphite on the cathode with a pencil or spray. This way you generate a carbon or graphite layer on the conductive surface of glass sheet number 2. Later you will use glass sheet number 2 to make the positively charged electrode.
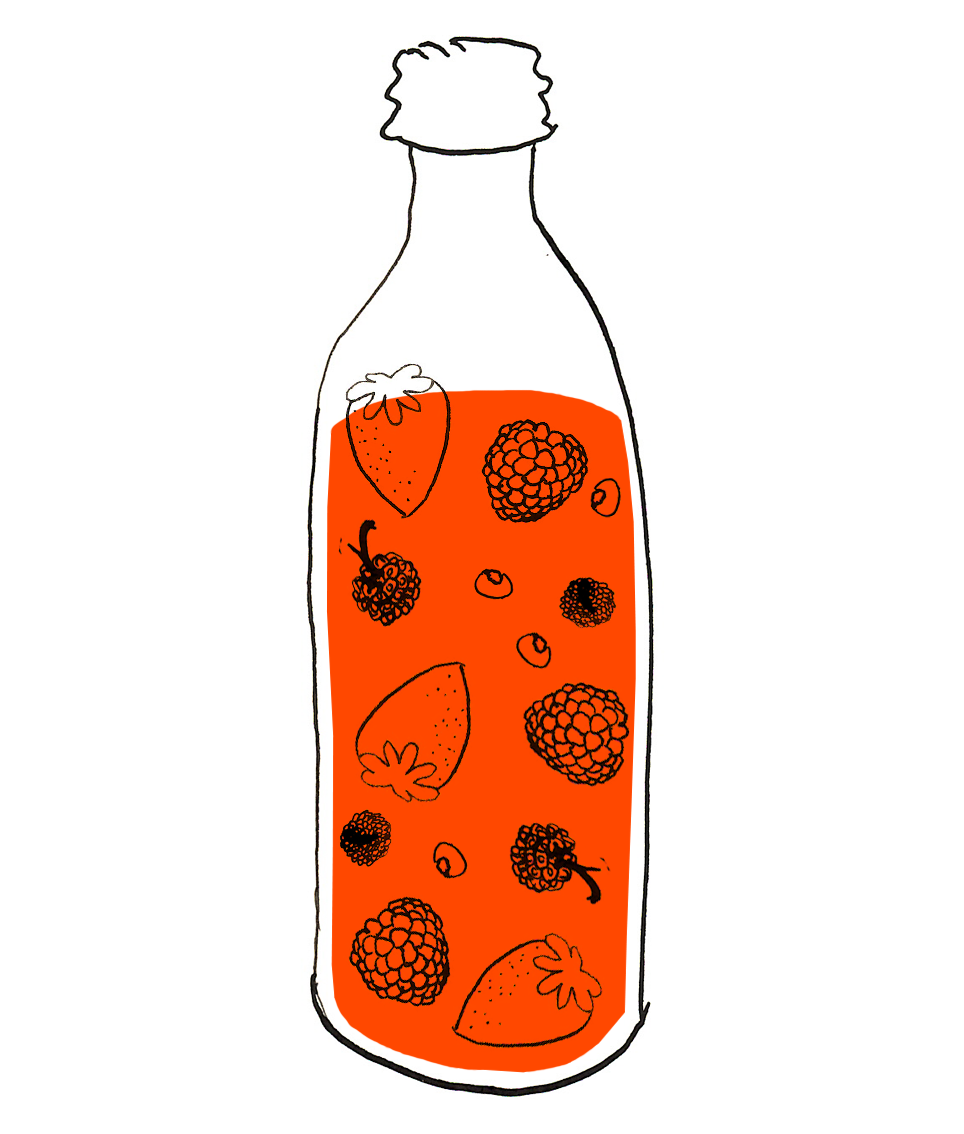
2. Natural Dye Solution Here you can use the juice of hibiscus leaves and purple or red berries.
3. Electrolyte Betadine or lemon juice serves as an electrolyte.
2. Natural Dye Solution Here you can use the juice of hibiscus leaves and purple or red berries.
3. Electrolyte Betadine or lemon juice serves as an electrolyte.
PREPARE PARTS:
Conductive glass
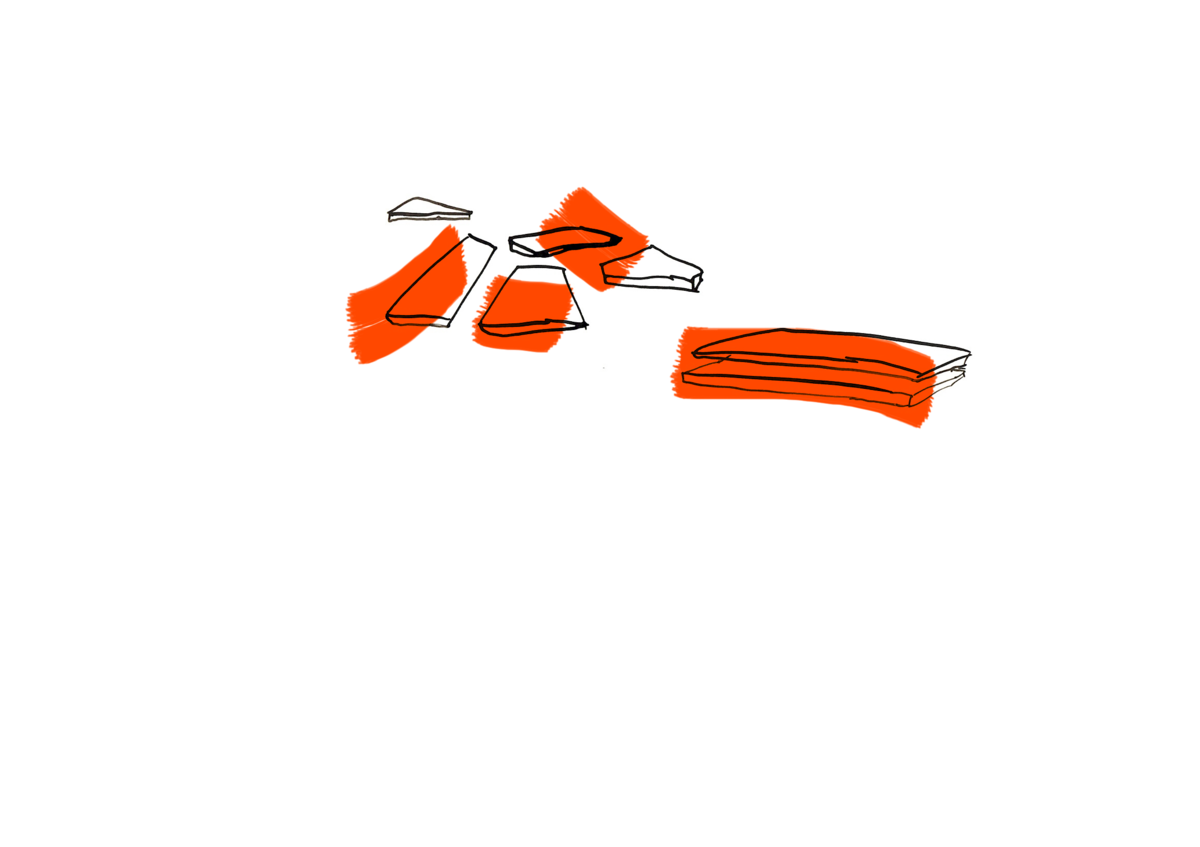
You can buy it or make conductive glass using ordinary window glass, a glass cutter and some stannous chloride powder.
2. TiO2 coating
2.1. For about 15 minutes
Add 10 ml vinegar gradually to 6g Titanium Dioxide, stirring and grinding with a pestle and mortar until it becomes smooth and lump-free. Add one drop of clear dishwashing detergent (Ivory) or a few drops of the Triton X100 surfactant.
2.2. For about 15 minutes
Mix it lightly, and then let it sit for 15 minutes. The mix you obtain should have a smooth consistency, somewhat like latex paint. from
2.3. For about 5 minutes
Now mix 3g TiO2 with 10ml solution. The solution is made from 1,25ml acetyl acetone and 2,5ml Triton X-100 (1/5 vol.) in distilled water, 5ml polyethylene glycol 20000 (100g/l) in distilled water and 50ml destilled water plus natural dye (you can experiment with juice from hibiscus leaves, berries, pomegranates etc). from HTL Braunau
2.4. About 15 minutes
Apply a thin layer of the paste to the conductive side of the glass sheet. Leave it to dry. Then bake it in a ceramic oven or use a heat gun. Try to make ‚nests‘ from aluminium to protect the glass from sudden changes in temperature.
3. Electrolyte
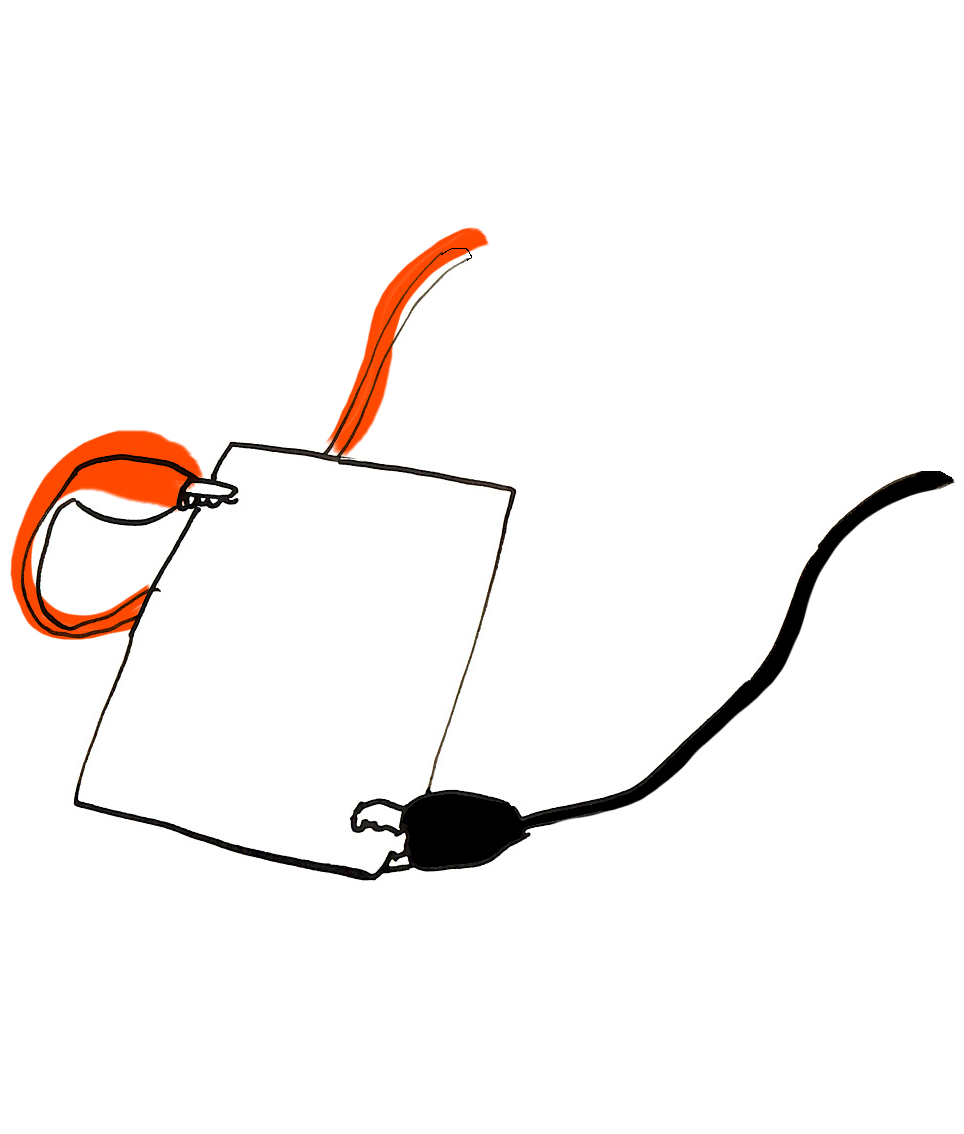
Put the two glass sheets together, so that the dyed and carbonized side are touching (that is, the conductive sides of the glass sheets). Turn them so that on either side you have a little space left to later connect an aligator clip.
Then press the glasses together with clips. Hold the cell upright and put a line of betadine on the top side. Leave the cell in this position until all betadine is evenly ‘soaked in‘ through all the surface. If needed, add a little bit more.
4. Sealing the edges
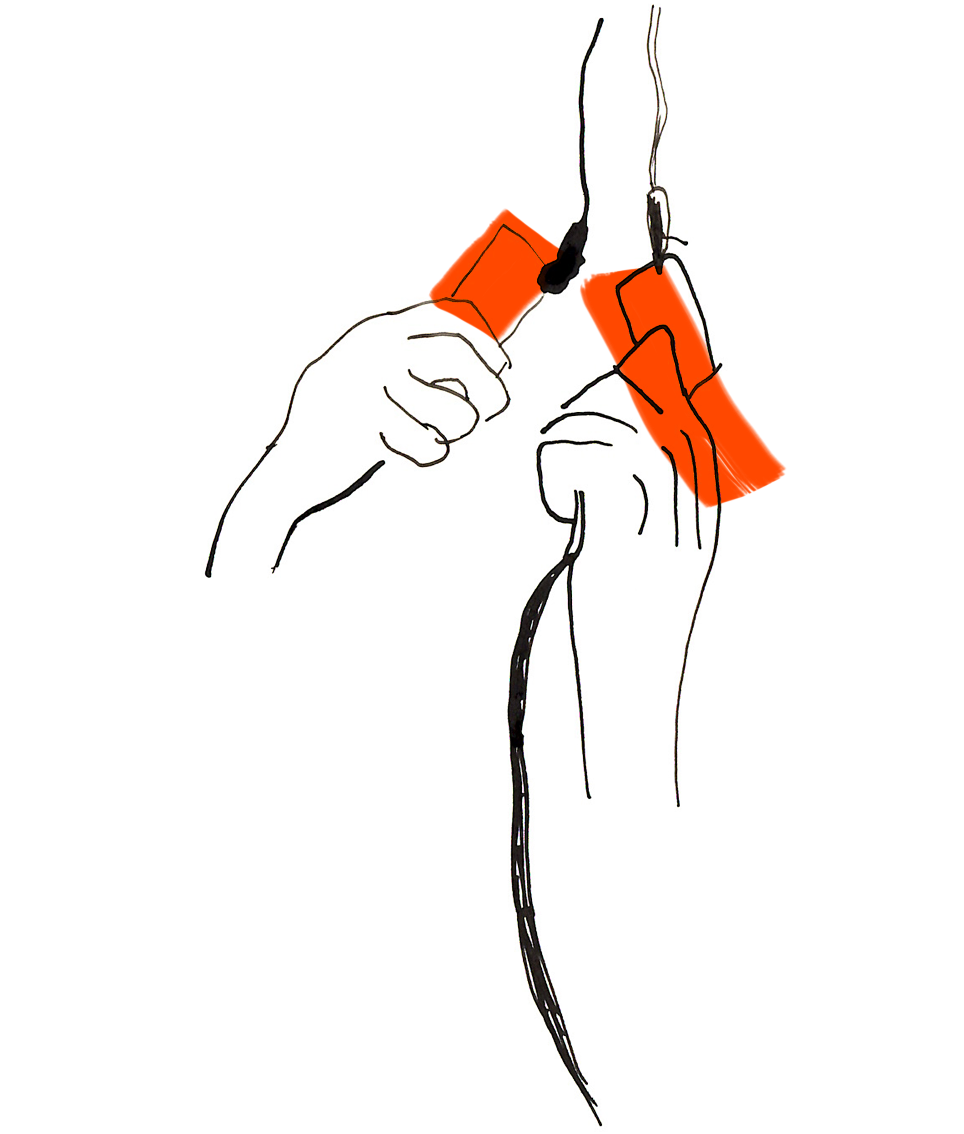
Once the betadine is evenly distributed inside the cell, it is very important to seal it well. Clean the cell well on all the edges and seal it by using a strong glue or melted tar. If it is not sealed well, betadine from the inside will evaporate quickly and the cell will loose all its power. You can try refilling it later.